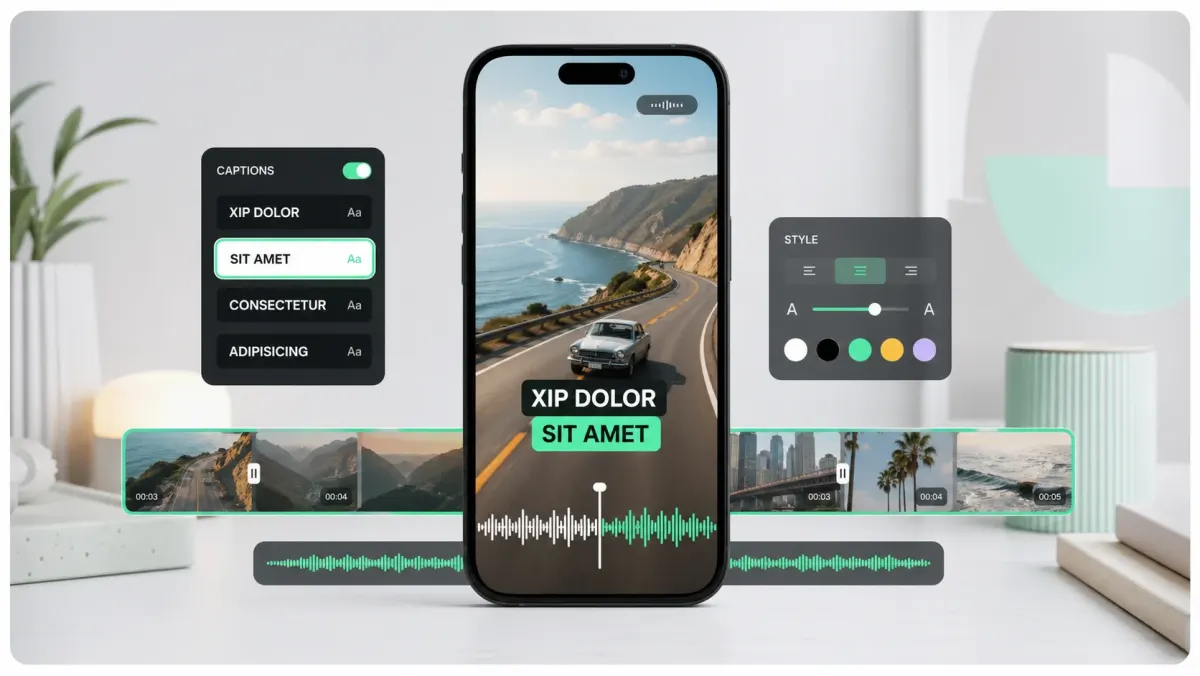
Step 1 — Open the Captions workspace
Window → Workspaces → Captions and Graphics. The Text panel becomes your subtitle home. Premiere reads SRT, VTT, MCC, and several broadcast formats natively.
Step 2 — Import your subtitle file
File → Import → pick your .srt. The captions appear as a CC track above your video timeline. Drag the track to align with your edit if your subtitles were generated against the original audio.
- 01If your subtitles drift, check Sequence Settings → frame rate. SRT files use absolute time; if you cut at 23.976 but the SRT was generated at 30fps, drift compounds. Run the file through a frame-rate converter first.
- 02If you don't have an SRT yet, run Window → Speech to Text — Premiere's built-in Whisper-based transcription is solid for English studio audio.
- 03For non-English or tricky audio, generate the SRT outside Premiere (SoCaptions, Whisper, Rev) and import.
Step 3 — Style and position
Click any caption in the timeline → Essential Graphics → Edit. Font, fill, stroke, background, and position are all controllable per cue. Pick a single style for the whole track via the 'Styles' dropdown to apply globally.
Step 4 — Export burned-in or as a sidecar
In Export Settings → Captions, choose 'Burn Captions into Video' for hardsubbed exports (TikTok, Reels), or 'Create Sidecar File' for SRT/VTT delivery. For social, burn-in wins; for broadcast or YouTube CC delivery, sidecar wins.
Common pitfalls
- VTT files imported into a 23.976 sequence sometimes show a 1-frame drift on the first cue — check the start of your edit.
- Caption styles don't cross-import between projects unless you save them as Motion Graphics Templates.
- Burned-in export is encoded into the video stream — re-exporting to change captions means re-rendering the whole video.