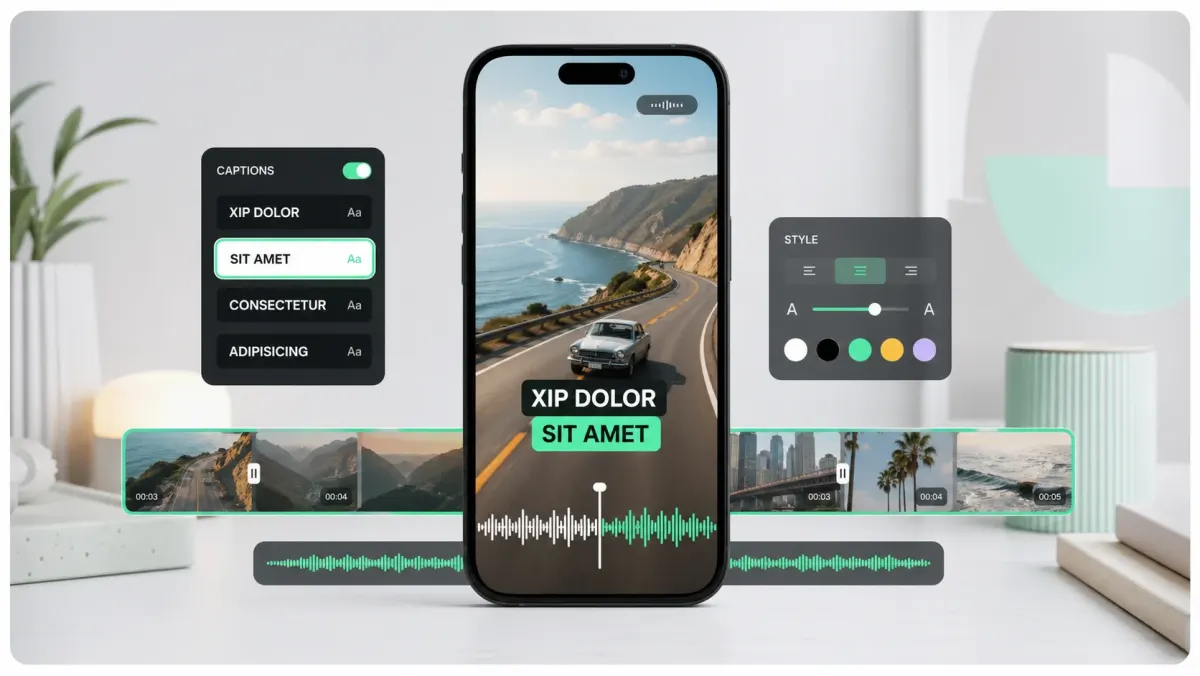
Burned-in captions — also called burned in captions, open captions, hardcoded subtitles, or hardsubs — are not a separate file. They are pixels. Once exported, they cannot be toggled off, translated automatically, or restyled without re-rendering the video.
Burned-in vs closed captions
- Burned-in: always on, full style control, survives cross-posts and downloads.
- Closed (SRT/VTT): toggleable, accessible, multi-language, better for long-form players.
- Best practice for marketing: burned-in MP4 for social + SRT archive for accessibility.
When burned-in captions are useful
- TikTok, Reels, Shorts, X, and LinkedIn feeds where the message should be visible immediately.
- Cross-posting one captioned MP4 across multiple platforms.
- Brand-controlled fonts, colors, animation, and safe-zone placement.
- Videos where viewers commonly watch without sound.
How to make burned-in captions
- 01Finish the video edit first.
- 02Generate a word-timed transcript (SoCaptions, Whisper, or similar).
- 03Pick a readable preset — outline or box for busy backgrounds.
- 04Check safe zones at /tools/safe-zone-preview.
- 05Export MP4 with captions rendered in.
For the full decision tree and accessibility considerations, see burned-in captions vs closed captions. To compare delivery formats, see SRT vs VTT vs ASS.
FAQ
What does 'burned-in' mean in captions?
'Burned-in' means the caption text is rendered directly into the video pixels during export — baked in, like burning something into wood. The captions become part of the image and cannot be removed, restyled, or toggled off after the file is exported. This is why they're also called open captions or hardcoded subtitles.
What is the difference between burned-in and closed captions?
Burned-in captions are pixels in the video frame — always visible, not toggleable, full styling control. Closed captions are a separate text track (SRT, VTT) delivered alongside the video — the viewer can toggle them on or off, switch languages, and change appearance. For social media, use burned-in because closed caption tracks are often hidden. For YouTube long-form, accessibility compliance, and translation, use closed captions or deliver both.
Are burned-in captions the same as open captions?
Yes — burned-in captions, open captions, hardcoded subtitles, and hardsubs all mean the same thing: text permanently rendered into the video frame. The terminology varies by industry. 'Open captions' is the accessibility term. 'Burned-in' is the production/post-production term. 'Hardcoded' is the encoding term. They all describe captions that are part of the image, not a separate track.
Do burned-in captions hurt ADA compliance?
Do not rely on burned-in captions alone when an accessibility requirement applies. Requirements vary by context, and a separate caption track is generally easier for viewers and assistive technologies to control. Keep an accurate SRT or VTT alongside the burned-in version and verify the applicable standard for your audience.
Production workflow
The practical way to apply this guide is to treat burned-in captions: what they are & how to hardcode subtitles as a repeatable production workflow, not a one-off fix. Start with the final video file, not the rough edit. Make the content understandable first, make the captions accurate second, and make the styling attractive third. That order prevents the most common mistake in video caption work: spending time on color, animation, or font choice before the words, timing, and placement are correct.
For short-form video, the workflow should be fast enough that you can use it every time you publish. If the process takes 45 minutes per clip, you will skip it when you are busy. A good caption workflow should fit inside the final polish pass: upload the final cut, generate captions, fix the transcript, choose the preset, check safe zones, preview on mute, and export. That is enough for most creator, founder, marketer, and agency clips.
- 01Watch the video once without captions and write the single idea the viewer must understand.
- 02Generate or paste the transcript and remove anything that distracts from that idea.
- 03Set caption timing before styling. Timing problems are more damaging than font problems.
- 04Choose one readable visual system: outline, box, karaoke, cinematic, or minimal.
- 05Check the worst frame in the video, not the cleanest frame.
- 06Preview the export at phone size with sound off.
- 07Publish only when the message is clear without audio.
Quality checklist before publishing
Use this checklist before publishing any video related to what are burned in captions. It is intentionally practical. The goal is not to create a perfect studio deliverable; the goal is to avoid the errors that cause people to swipe, misunderstand the message, or miss the call to action.
- The first caption appears early enough to support the hook.
- No caption is hidden by platform buttons, username text, captions, CTA buttons, or progress controls.
- Every important proper noun, number, price, URL, and product name is spelled correctly.
- Lines break around phrases instead of splitting random words.
- The caption block uses enough contrast on the brightest frame.
- The style matches the content category: louder for fast social, cleaner for tutorials, calmer for B2B.
- The video still makes sense with sound off.
- The export was checked after rendering, not only inside the editor preview.
- The caption position is consistent with other videos on the same channel.
- The final CTA is visible, readable, and not competing with native platform UI.
Common mistakes to avoid
The biggest mistake is treating captions as decoration. Captions are part of the content layer. They carry meaning, pace, emphasis, accessibility, and retention. If they are late, too small, hidden, or hard to read, the viewer does not experience them as a design flaw; they experience the whole video as harder to watch.
The second mistake is designing for the editor canvas instead of the feed. Editors show a clean preview. Social platforms add buttons, labels, captions, comments, compression, and device variation. Always assume the published version will be harsher than the preview. More margin, stronger contrast, and shorter lines are usually better than a layout that looks elegant only in the editor.
- Do not put the most important text at the very bottom of vertical video.
- Do not use thin fonts for fast speech or small mobile viewing.
- Do not rely on color alone for emphasis if contrast is weak.
- Do not generate captions before the edit is final unless you expect to redo timing.
- Do not export once and assume every platform will display the file the same way.
How to use SoCaptions for this
SoCaptions is built for the practical version of this workflow: quick caption generation, editable transcript cleanup, readable presets, and export-ready MP4 captions for social video. Use it when the edit is mostly done and the remaining job is to make the words visible, timed, and polished. That is where a focused caption tool is faster than opening a full video editor and rebuilding a caption system from scratch.
The best SoCaptions workflow is simple. Upload the final video, generate captions, fix the transcript, pick a preset, adjust placement for the platform, preview the full clip, and export. For high-volume creators, save a consistent style and reuse it. Consistency matters because viewers learn where to read your captions and begin to recognize your videos before they consciously notice the branding.
Try the workflow on a real 20-40 second clip before changing your whole process. One finished export will tell you whether the caption style, placement, and timing are strong enough for your channel.
FAQ
What is the fastest way to handle what are burned in captions?
The fastest reliable method is to work from the final video, use an automatic caption or transcript tool, fix only the meaningful mistakes, and apply a proven preset instead of designing from zero. Manual control is useful, but manual setup is expensive if you repeat it for every clip. Use automation for the repetitive timing work and spend your attention on clarity, placement, and final review.
Should I use burned-in captions or a caption file?
Use burned-in captions when you need every viewer to see the text immediately in a social feed. Use a caption file such as SRT or VTT when accessibility, toggling, translation, or platform-native playback matters. For important videos, the strongest workflow is often both: a captioned social export for reach and a clean transcript or caption file for accessibility and reuse.
How do I know if the captions are readable enough?
Preview the video on a phone-sized screen with sound off. If you can understand the point without leaning in, pausing, or replaying, the captions are probably readable. Then check the brightest frame, the busiest frame, and the final export after compression. Readability is proven in the worst viewing condition, not the best screenshot.
How much should I customize the style?
Customize enough to fit your brand, but not so much that the captions become harder to read. Most channels need one dependable default and one alternate style for special clips. Constantly changing fonts, colors, and animation makes the content feel less consistent and slows production. A simple repeatable style usually beats a new design for every post.
What should I measure after publishing?
Measure retention, average watch time, completion rate, rewatches, comments that mention clarity, and whether viewers understand the call to action. View count alone is too noisy. If caption improvements work, you should see fewer early drop-offs and better comprehension on clips where the spoken message matters.
